Project Design and Shot Lead
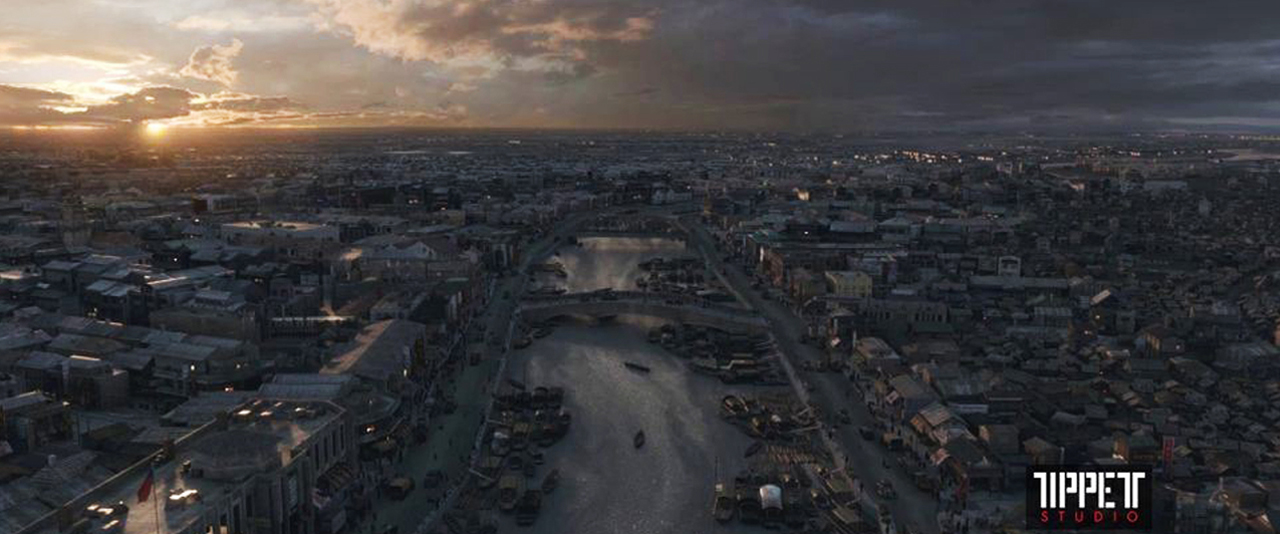
Dream of Anhui 180 degree Ride film
Tippett Studio, 2014
Chris Morely, VFX Supervisor
I contributed across all aspects of the project from working at the early stages on reference sourcing and designing the team structure & pipeline to creating the initial camera move & rough layouts, to planning and directing the project build process. As the work progressed I moved to shot lead & art direction and to asset creation.
Key members on the Environment team were Ben VonZastrow, Pamela Saad and Daren Hilton. Chris Paizis was the Layout Supervisor and Tech Art Wizard.
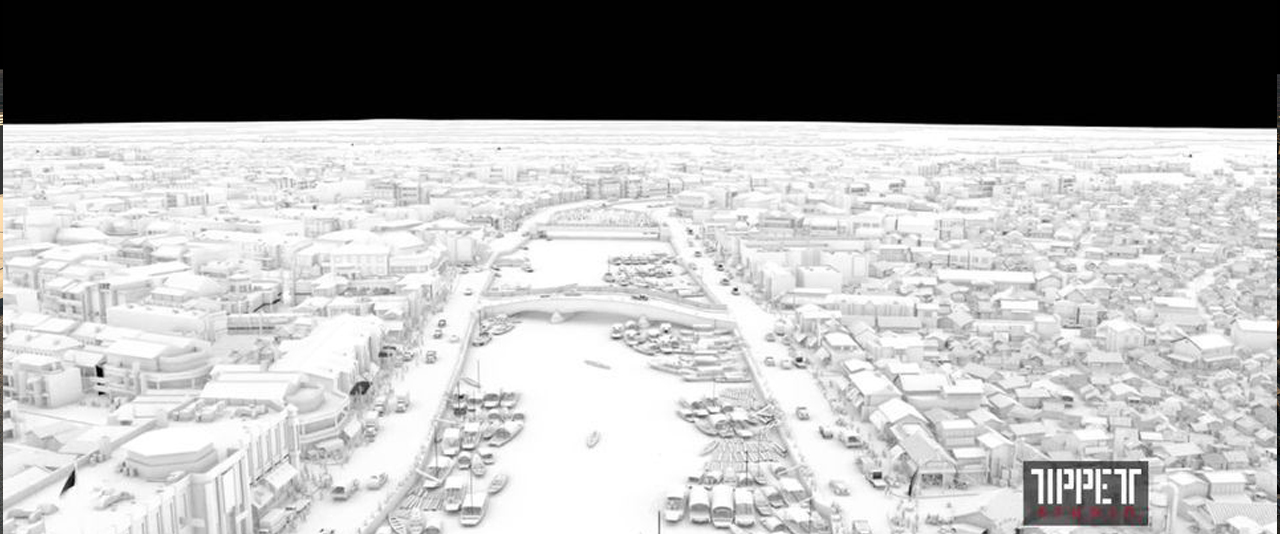
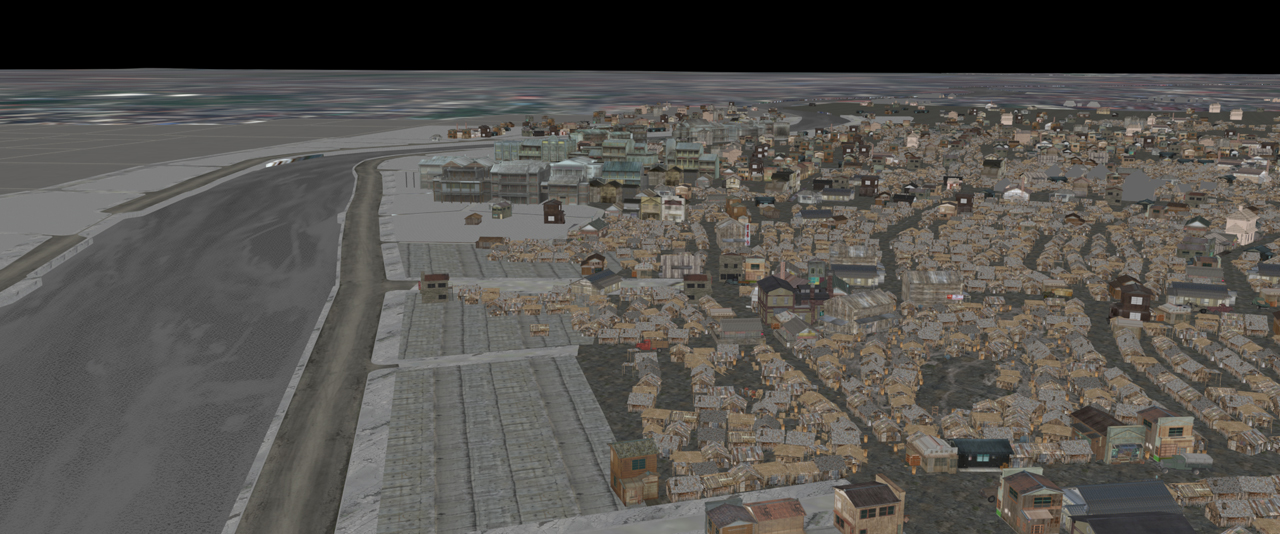
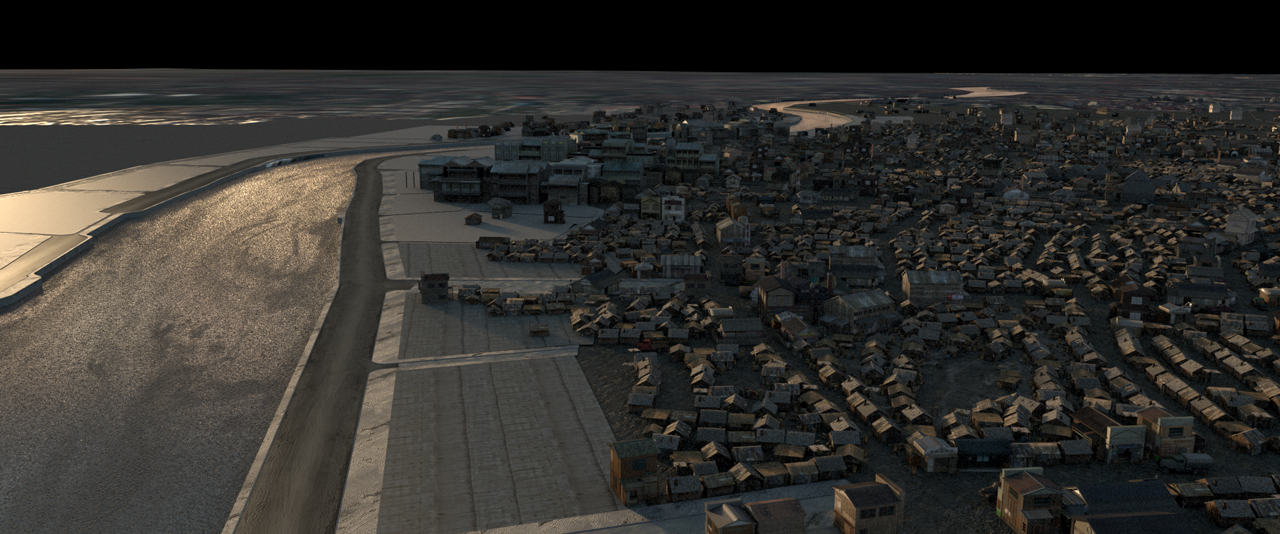
Shot Breakdown